Showing posts with label home. Show all posts

1.05.2012

Our New Little Man's Home

This may be the last post I have time to write for a while, because tomorrow's the big day! I'm almost a week past due at this point, despite the fact that my doctor told me almost a month ago we might be welcoming Tiny Timmons any day. He's displayed surprising tenacity for so small a fellow, and since we can't wait any longer to meet him, I'm going in tomorrow morning to be induced. (Kind thoughts and prayers big and small are welcomed.)

But I wanted to show you, before it's thrown into disarray by the stresses of caring for a newborn, the (mostly) finished nursery. We don't have all of the bedding ready for the crib yet, so you won't get to see photos of that, unfortunately, but you will get to see everything else we've done, including the mobile I made with an old lampshade frame and hand-punched paper bits. I love the way everything turned out -- I wanted this room to feel bright and cheery but not too babyish, which I think we accomplished by staying away from a "theme," on the whole, and just using splashes of color against primarily white walls. I hope it will be a happy place for our little fellow to become acquainted with the world, and I hope you enjoy the tour as well!


Here you'll see the vintage turquoise dresser which was the jumping-off place for choosing colors, and the adorable "chalkboard" banner made by my lovely friend Evan.


The room has a small 3x4 foot inset alcove, in which we placed an old dresser for additional storage, and rigged up an easy-reach "closet" for hanging other clothes. This area can be screened off from the rest of the room with handmade floor-length curtains on rollers.


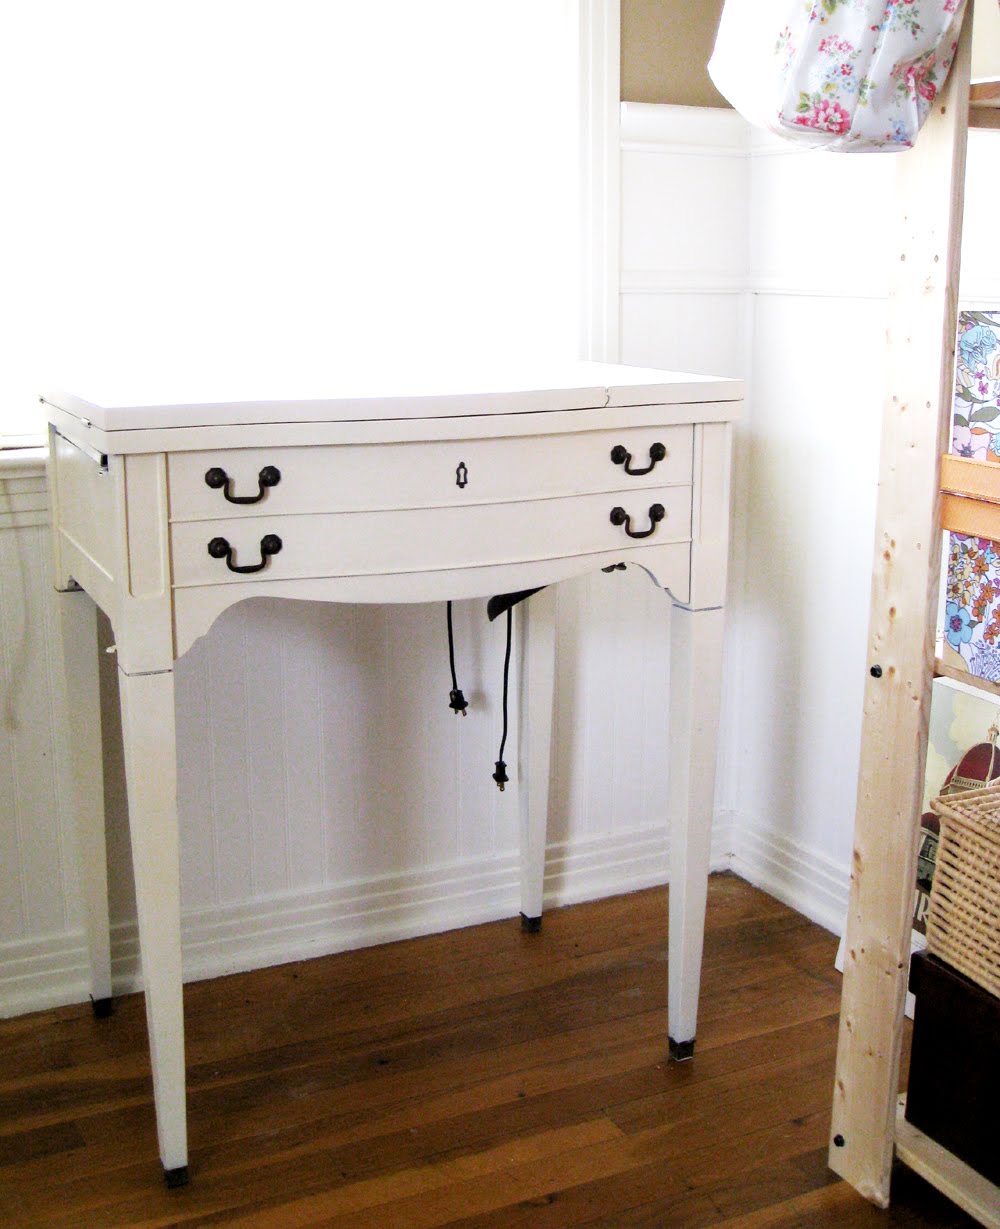
Here's the rocker and ottoman in which we'll probably spend a lot of time, an old telephone table that was in terrible shape initially, but was stripped and painted to match the vintage dresser, and a cubby storage unit which holds Tiny's books and toys (in the baskets). I recovered the lampshades in our yellow zig-zag accent fabric.


And on the right is the mobile I made by undressing an unused lampshade, covering it with fabric strips in an aqua dot pattern, then rigging up a fishing-line structure from which to hang colorful paper punches in different shapes and sizes. I used the beautiful piece on the left (created by Dottie Angel) as inspiration, but wanted my paper bits to hang more or less horizontally, so that the baby can see the shapes and colors when looking up at it from his crib below. It took A LOT of hours from start to finish, but I'm really pleased with the way it turned out.

I hope at some point in the not too distant future to be back with pictures of our newly-arrived addition, who is, as yet, still unnamed. He can't wait to meet you all!

10.30.2011

Some News

So the reason I haven't been present here for the past few months is that I've been busy growing a baby and doing all of the things that go along with getting ready to welcome our little Tiny Tim (not actually his name, just his "before he gets here" short version) into our lives. Here are a few shots of the gradually-progressing nursery, which will be white, aqua, and turquoise, with pops of yellow. (It will be so cute!)


He's due to make his grand entrance into the world on New Year's Eve, and if he's on schedule, our 2012 will begin with some major changes. We are terrified, but so excited!

Thanks to those of you who have stuck around, waiting patiently for me to return, and are still reading. There will be more news coming up later this week, so stay tuned!

10.04.2010

Maybe I'm just a little bit crazy

... Because I haven't yet exhausted my obsession with aqua, and I'm trying to figure out a way to do something like this to my kitchen:

via
via
via
I just can't get enough. Someone's going to have to stop me.

7.28.2010

Floral Flair

I'm wishing today that I could paint my dining room floor to look just like this.


A fabulous Before and After project spotted on Design*Sponge. See before and in-progress photos here.

6.28.2010

Dreams Really Do Come True

I'm so excited to show you my new workspace set-up today! It's been such a long time in being completed, that it's almost hard to believe it's real every time I walk into our office/workroom and see my tidy little desk with all of my crafty materials waiting there in their proper places for me to sit down and have some fun.

But without futher ado, photos!

First, the beautiful little sewing table my mom found for me on an antiquing excursion, and bought while we were in Dallas over Christmas break. I gave it a new coat of creamy paint and re-installed the original hardware.


My sweet husband helped me put together this inexpensive IKEA shelving unit, and very kindly let me buy as many of those adorable Liberty of London for Target storage bins as I could fit out the door. I really like the natural knotty pine with the fun florals. The oilcloth bag hanging on the end is a Cath Kidston bag I picked up in London.


Two Liberty boxes storing papers sit beside a cream-colored vintage locker basket I found years ago at an antiques store.


My IKEA chair is surprisingly comfortable. The trestle legs on my desk allow for adjustment of the height of the destop, which is the absolute perfect one for me, as the space between the top glass surface and the bottom allow me to store four trays inside: one for jewelry, one for papers, one for tapes and stamping supplies, and one for my headband materials. I just take out the tray for whatever it is I need to work on, then put it back when I'm finished, and I still have a perfectly clean and tidy desktop!


Above my desk are the rail storage system and wall shelves I'd bought previously from IKEA. The rail and shelf brackets had been black, however, until just two weeks ago when I painted them a soft aqua to match things a little more nicely. The hanging magazine rack on the far right holds bubble wrap and packaging materials.


The adorable faux bois and doily patterned metal trays came from SweetJessie on Etsy, and I plan to make or order some cute magnets to hang inspiration photos on them. I intended to use the Liberty melamine tray for serving when I bought it, but couldn't resist hanging it up over my desk after seeing how perfect the size and colors were.


I strung up a length of aqua cotton twine for a temporary (or permanent?) place to hang up some of the pretty paper goods and tags I've collected recently.


Lots of bright natural light comes in from the three windows in this room, making it a great place to work on crafty goodness.


So, that about does it. What do you think?


 I, for one, love this little space in our room. And even better, on the adjacent wall, we've squeezed in a desk for my husband, so that when school starts again this fall, we can work together in the same room! (His side of the room's a little less .... floral.)

6.25.2010

This Is What They Call A Teaser


Why, you may ask, am I posting photos today of Ez's lovely workspace (featured this month in Elle Decoration magazine)? Well, the answer is that it's about time. After long months of sitting, waiting, wishing, and hoping, and roughly 14 hours of toil, paint, organization and IKEA allen wrenches, my workspace is finally complete. It is all that I hoped it would be, and I am so happy each time I get to sit down at my tidy new desk and begin a new crafty endeavor. And you, my friends, shall see the results of this grueling process bright and early on Monday morning!

Also coming next week, photos of our trip!

4.30.2010

Wonderful Day

Just a quick suggestion, friends: Mother's Day, as you know, is next Sunday the 9th, and I'm running a MD Sale in my shop so that you can pick up something lovely for your very special mum without spending a ton. Also, domestic shipping is free as part of the sale, and if you order before Wednesday, I can still get your package to you by the weekend!


And now, I shall tell you why today is a fantastic day. First, I get a free lunch. Second, my free lunch will occur at one of my very favorite weekly events: Honors Lunch Discussion, where our students meet every Friday to discuss a topic presented by a faculty member. Third, I have the afternoon off! Fourth, I have the afternoon off because my brilliant husband is being presented with an award for being the Best Graduate Student Document Instructor for the Freshman Composition Program, and I was invited to his award ceremony! Fifth, after that, we go home from school early, and we're going to order pizza and have a Wes Anderson movie marathon! Rushmore, Darjeeling Limited, and Fantastic Mr. Fox are all on the line-up. (I'm counting this as a date night, because I don't have to cook and I get to spend the whole evening cuddled up with my handsome husband, but technically, it counts as work for him, because he'll be "researching" for a paper he's writing about Wes Anderson films in one of his classes.)

Here's a preview in photos of all the glory that lies before us:


How could this day possibly be better!?

2.23.2010

Etsy Treasure Tuesday: Polly Danger Notions

Today's Etsy feature post requires a bit of background, I think. I've mentioned here, here, and here before that it is my goal for this month to overhaul the back bedroom in our house, which currently contains my old bedroom suit, and make it into a beautiful little office space that Nathan and I can share. Finally, he'll have a place to do his schoolwork and work on research other than the dining room table, and I'll have a dedicated, organized space in which to sew and put all of the wonderful jewelry workspace furniture I got at Ikea in December!

My lovely mother very graciously came over on Saturday to get me motivated, and the two of us working together for three hours successfully completed Step One of the project: to empty and get ready to move out all of the old furniture, which had been holding more than 25 years of accumulated "keepsake" ridiculousness. The bed is taken apart, all of the linens have been packed up for storage at my parents' house, and I even reorganized the closet! Even better, we took the hardware off of a beautiful antique sewing table that mom picked up for me on a recent antiquing excursion (so that I can repaint it a crisp, clean white), and we discovered, to my very great happiness, that my own sewing maching will fit perfectly into the space where the original old school black Singer had been! This means that not only will my sewing machine not have to share space any longer on my jewelry desk, but it can be folded up inside my pretty little sewing table when not in use!

All this preparation for finally being able to sit down at my sewing machine quickly and easily whenever I like has fueled my current obsession with thinking of various items I want to make, and prompted today's Etsy feature, a charming shop called Polly Danger Notions. Polly offers gorgeous handmade bias tapes, fabric covered buttons in several sizes, fun little sewing tutorials, and more. If you're as excited about beginning some fun sewing projects as I am, hop over and take a look through the shop. Here's a pretty preview:

Before much longer I'll be able to present some real progress to you here on my lovely new workroom! Much unpleasantness has to be got through first, like repainting just about everything, some new task lighting in the room, and approximately 47.3 hours of assembling my new Ikea desk and shelving unit. It'll all be worth it in the end!

2.21.2010

Without Further Ado

I give you: the great Red Velvet Cupcake Adventure, begun with the aid of my Grammy's beloved, tried and true, pride-of-the-family Red Velvet cake recipe.

For the cake:
-- ½ cup crisco
-- 1½ cups sugar
-- 2 eggs
-- 1 cup buttermilk
-- 1 Tbsp. white vinegar
-- 1 tsp. vanilla
-- 2¼ cups flour
-- 2 tsp. cocoa
-- 1 tsp. baking soda
-- ¼ tsp. salt
-- ¼ cup red food coloring (2 1oz. bottles)

1. Cream crisco, sugar, and eggs.
2. Beat well and add dry ingredients alternately with buttermilk.
3. Beat well then add vanilla, vinegar, and food coloring.
4. Beat well and pour into 2 greased and floured 9" round cake pans. {Or, as in my case, 12 greased extra-large cupcake or mini-cake papers.}

5. Bake at 350° for 30-35 minutes. Cool completely before icing.
For the icing:
1. Cook the following over a low heat burner until thick:
-- ½ cup milk and
-- 3 Tbsp. flour.
2. Let cool.

3. Whip the following until creamy (whip WELL):
-- 1 cup sugar
-- 1 stick margarine or butter
-- ½ cup crisco
-- 1½ tsp. white vinegar
4. Add the cooled cooked mixture to the whipped mixture and beat until very fluffy {i.e., for a very long time}.
5. Add 2½ tsp. vanilla and beat well again.

6. Ice the cooled cake and enjoy!

Red cake, as it's affectionately called in my family, is my very favorite Grammy dessert. It would even edge out her marvelous chocolate cream pie if I had to make a choice. It's what I've always requested ever since I was little for my birthday celebration, but usually, I only take home what's left after everyone else gets a piece too -- a quarter of a cake or so. But this time, Nate and I had 12 whole mini-cakes, essentially an entire red velvet cake, to ourselves. And one week later, I have 3 extra pounds to show for it. But boy was it worth it. You can diet anytime, but red cake makes any day a very special day.

LinkWithin

Blog Widget by LinkWithin